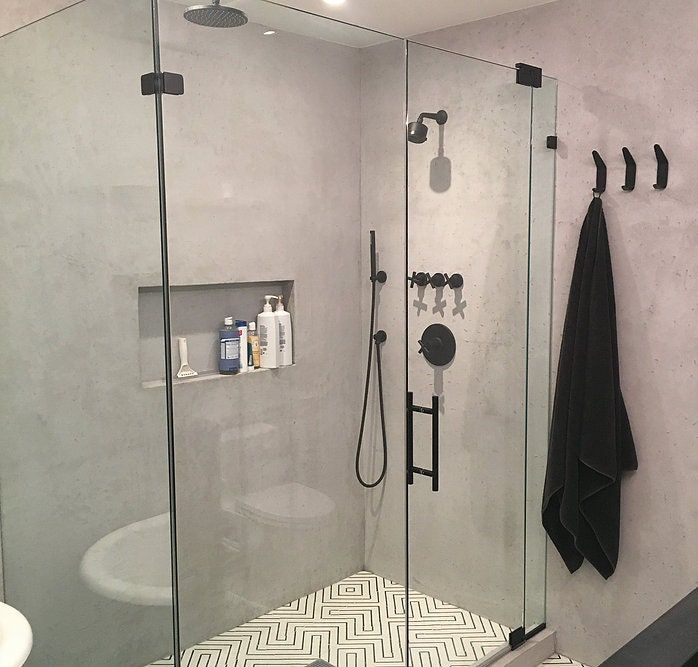
When it comes to concrete shower walls, there are two main options for installation: DIY or professional. If you’re handy with tools and have some experience working with concrete, then a DIY installation might be possible.
However, if you’re not confident in your abilities, it’s probably best to leave the job to a professional. Either way, concrete shower walls can add a unique and stylish look to your bathroom.
Pros and cons of DIY concrete shower walls
Pros:
– DIY installations can be cheaper than professional installations.
– If you’re experienced with concrete, a DIY installation can be a fun project.
– You’ll have complete control over the finished product.
Cons:
– If you’re not experienced with concrete, a DIY installation can be difficult and time-consuming.
– There’s a risk of damaging the shower if the installation is not done correctly.
– The finished product might not look as good as it would if it were installed by a professional.
Pros and cons of professional concrete shower wall installations
Pros:
– Professional installations are usually quicker and easier than DIY installations.
– The finished product will likely look better than a DIY installation.
– Professionals have the experience and knowledge to avoid potential problems.
Cons:
– Professional installations can be more expensive than DIY installations.
– You’ll have less control over the finished product.
– Professional installations are typically quicker and easier than DIY installations.
If you’re considering concrete shower walls for your bathroom, weigh the pros and cons of both DIY and professional installations to decide what’s best for you.
concrete shower walls diy
If you’re interested in a DIY installation of concrete shower walls, there are a few things you should keep in mind. First, make sure you have the necessary tools and materials. You’ll need a trowel, level, tape measure, concrete mix, and waterproofing sealant. Next, mark out the area where you’ll be installing the shower walls. Once you have the area measured and marked, use the trowel to apply a layer of concrete mix to the wall. Use the level to make sure the concrete is evenly applied.
Finally, apply a waterproofing sealant to the concrete mix. This will help ensure that your shower walls are watertight. Allow the sealant to dry completely before using the shower. DIY concrete shower walls can add a unique and stylish look to your bathroom. However, it’s important to make sure you have the necessary tools and experience before attempting a DIY installation. If you’re not confident in your abilities, it’s probably best to leave the job to a professional.
Tips for maintaining your new shower walls
Once your new shower walls are installed, there are a few things you can do to keep them looking their best. First, make sure to clean them regularly with a mild soap and water solution. Avoid using abrasive cleaners, as these can damage the concrete. For tougher stains, you can mix a paste of baking soda and water and apply it to the stain with a soft cloth. Once the paste has had a chance to sit for a few minutes, rinse it off with water.
To help prevent mold and mildew from growing on your shower walls, make sure to keep them as dry as possible. After each shower, wipe down the walls with a towel or squeegee. You might also want to install a exhaust fan in your bathroom to help ventilate the space. Byfollowing these simple tips, you can keep your concrete shower walls looking like new for years to come.