Roger Morph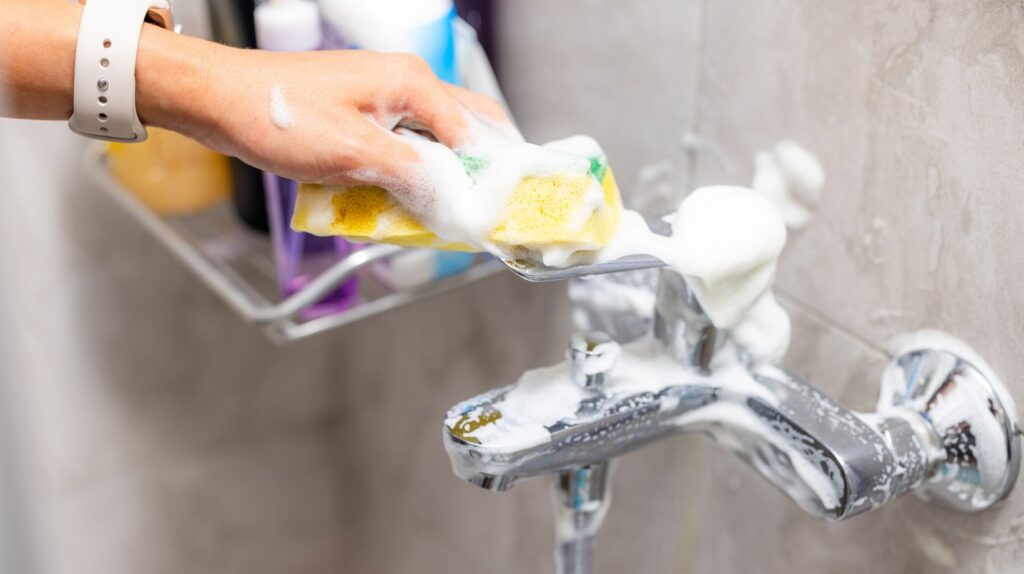
Why limescale keeps coming back (and where it hides)
Limescale is what happens when hard water dries and leaves behind mineral deposits, mostly calcium and magnesium. It starts innocently as a faint, chalky haze, then turns into a crusty ring around taps, a cloudy film on shower screens, and a stubborn line at the water level in the toilet. If you live in a hard-water area, it can feel like you clean and it reappears the moment the bathroom dries.
The tricky part is that limescale doesn’t only settle on the obvious surfaces you see every day. It builds up inside shower heads, around aerators on taps, along tile grout lines, and at the base of fixtures where water quietly pools. A good clue is texture: if it feels rough under a fingertip or looks like dried candle wax, you’re not dealing with normal soap residue.
Spot the difference: Limescale vs soap scum vs rust
Before you reach for any cleaner, it helps to identify what you’re seeing. Limescale is typically white, pale grey, or slightly yellow and feels hard or gritty. Soap scum is more of a smeary, dull film that can look greyish and feels waxy or slippery when wet. Rust tends to show up as orange-brown streaks, often where metal meets water.
This matters because the “wrong” approach wastes time. Scrubbing soap scum with an acidic descaler can help a bit, but it may not fully lift greasy build-up. On the flip side, attacking thick limescale with only a mild bathroom spray can leave you doing five rounds of cleaning, which is how people end up over-scrubbing glass and damaging finishes.
Choose the right remover without damaging your bathroom
The safest way to think about descaling is: match the strength to the surface and the severity of the build-up. Many limescale removers are acid-based because minerals dissolve best in an acidic solution. That’s effective, but it also means you need to be selective about where you use it.
Surfaces that usually handle descaling well
In most bathrooms, descalers are commonly used on ceramic, glass, chrome, stainless steel, and many plastics. These are the places limescale is most visible too, like taps, shower doors, and glazed tiles. Still, even “tough” materials can be scratched by aggressive scrubbing, so let chemistry do the heavy lifting and keep abrasives as a last resort.
Surfaces to avoid or treat with extra caution
Natural stone such as marble, travertine, and other calcareous stones can etch when exposed to acids. Some painted or coated finishes can also dull if the product is too strong or left too long. If you’re unsure what a surface is, test in an inconspicuous spot first and rinse thoroughly.
If you’re comparing options and want a clear benchmark for what a strong, bathroom-focused formula looks like, this best limescale remover product page is a useful reference point for the kinds of deposits a concentrated descaler can target and the typical surfaces it’s intended for.
A simple, reliable method that works for most limescale jobs
When limescale is thick, the biggest mistake is rushing. A controlled routine usually beats repeated frantic scrubbing.
Step 1: Prep the area so the remover can work
Ventilate the room and remove bottles, cloths, and anything that will get splashed. Rinse the surface with water first if it’s dusty or soapy, then lightly dry it. Many descalers work better when they’re not instantly diluted by standing water.
Step 2: Apply and give it dwell time
Apply the product evenly, focusing on the crusted edges where deposits are thickest. Let it sit for the recommended time. If you’ve ever watched limescale “soften” and turn from chalky to slightly gelatinous, you’ll know the satisfying moment when wiping becomes easy. That’s the goal, not arm workouts.
Step 3: Agitate gently, then rinse thoroughly
Use a soft sponge, microfiber cloth, or a non-scratch pad. For tight corners, an old toothbrush works well. Rinse with plenty of water and dry with a cloth to prevent fresh spotting. If the build-up is old, repeating one controlled cycle is usually kinder to surfaces than one long, harsh attack.
Targeted fixes for common trouble spots
Cloudy shower glass
Shower screens often have a mix of limescale and soap residue. Descale first, rinse, then clean with a regular bathroom cleaner if a dull film remains. Drying the glass after each shower is the low-effort habit that makes the biggest difference over time, especially in hard-water areas.
Crusty tap bases and handles
Wrap a cloth around the base, dampen it with the descaler, and let it sit briefly so the product stays in contact with the deposit. Avoid metal scourers, which can scratch chrome and make it look permanently dull.
Poorly spraying shower heads
If the spray pattern has become chaotic, mineral deposits are often blocking the nozzles. Soaking the head in a descaling solution for a short period, then brushing the nozzles, can restore flow. Finish by running hot water through it to flush loosened debris.
Toilet waterline rings
Limescale at the waterline can be stubborn because it stays wet and keeps collecting minerals. Lower the water level if possible so the product can reach the ring directly, then give it time to work. For repeated issues, a quicker weekly wipe around the bowl helps stop the ring from turning into a hardened ledge.
Prevent limescale with small habits that actually stick
Limescale control is easier when you reduce the “dry-down” that creates deposits in the first place. Keep a squeegee in the shower and use it while the glass is still warm. Wipe taps after brushing your teeth if you notice spotting, it takes ten seconds and saves you a deeper clean later.
It also helps to treat descaling like a light, regular reset rather than an occasional battle. If you wait until deposits feel like stone, you’ll need stronger products, more dwell time, and more repetition. A quick maintenance routine keeps surfaces clearer and helps fixtures look newer for longer.
Quick safety and usability checklist before you start
Read the label, ventilate the room, and avoid mixing products, especially acids with bleach. Wear gloves if you have sensitive skin and keep the product off natural stone unless you’re sure it’s compatible. If you’re diluting a concentrate, measure rather than guessing, since using more than necessary doesn’t always clean better, it can just make rinsing harder.
When you’re done, rinse well and dry the area. That final wipe is the quiet trick that makes the bathroom feel truly clean, like the difference between a glass that’s been “washed” and one that’s actually sparkling when the morning light hits it.