A properly functioning chimney is essential for the safety and comfort of your home. As architects know well, solid infrastructure forms the backbone of any building – and this certainly applies to chimney systems. Whilst complex renovations often require professional assistance, there are several aspects of chimney maintenance and renovation that experienced DIY enthusiasts can tackle themselves. In this article, we’ll discuss when renovation is necessary, which tasks are suitable for self-completion, and how to execute them professionally.
Why Chimney Renovation Is Crucial
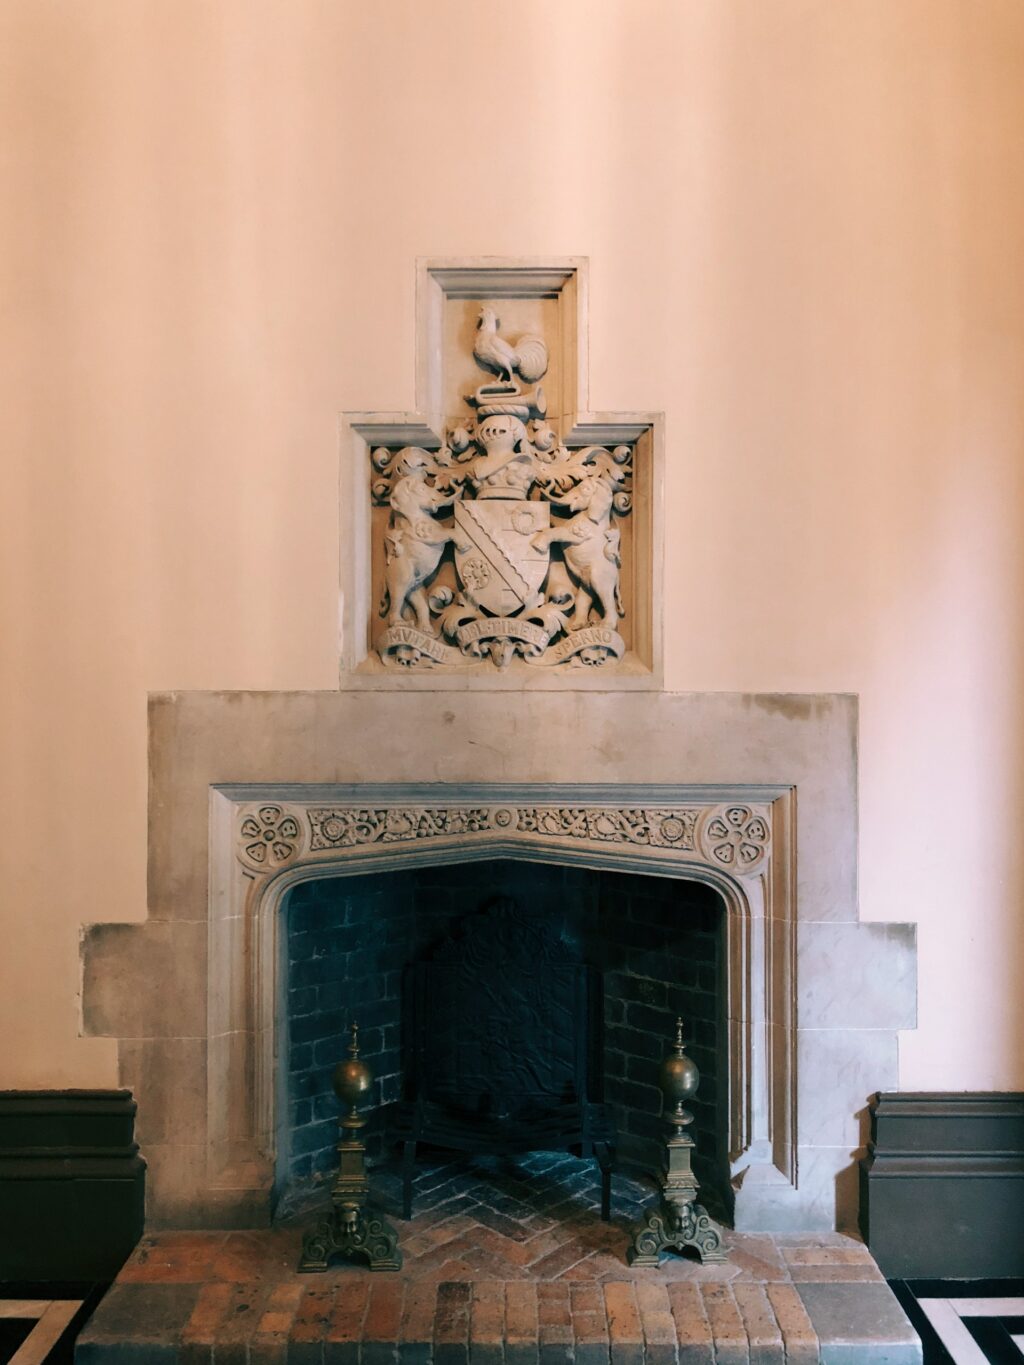
Chimneys are more than just functional elements – they form an integral part of your home’s design and structural integrity. A well-maintained chimney system ensures efficient removal of combustion gases, prevents moisture ingress, and maintains the aesthetic appeal of your property. However, the harsh British climate, with its frequent rain, frost, and temperature fluctuations, can take a significant toll on chimney structures over time.
The consequences of neglecting chimney maintenance can be severe. Structural damage, carbon monoxide leaks, fire hazards, and costly water damage are all potential risks. From an architectural perspective, a deteriorating chimney can also compromise the visual harmony of your building’s roofline and potentially affect property values.
When to Consider Chimney Renovation
Several warning signs indicate that your chimney may require attention. Recognising these early can save you from more extensive and expensive repairs later.
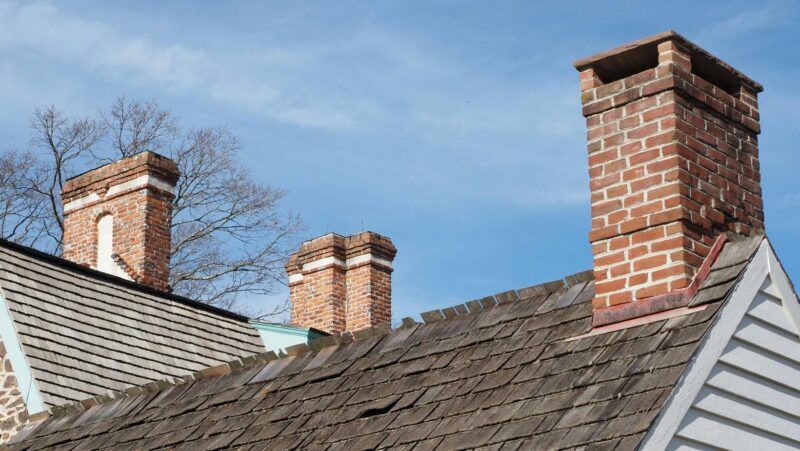
Visual indicators include cracked or missing mortar joints, damaged or loose bricks, white staining (efflorescence) on the exterior walls, rust stains around the chimney base, and damaged chimney caps or cowls. Inside your home, look for water stains on walls or ceilings near the chimney, musty odours, or visible daylight through the chimney when looking up from the fireplace.
Performance issues are equally telling. If you notice smoke entering the room instead of being drawn up the chimney, poor fire performance, or drafts coming down the chimney when not in use, these are clear signs that renovation may be needed.
Age-related factors also play a role. Victorian and Edwardian properties, common throughout the UK, often feature original chimney systems that may not meet modern safety standards or efficiency requirements. Even if structurally sound, these older systems might benefit from internal upgrades to improve performance and safety.
DIY-Friendly Chimney Renovation Tasks
While major structural work should always be left to qualified professionals, there are several renovation tasks that competent DIYers can undertake with proper preparation and the right materials.
Repointing Brickwork
One of the most common and achievable DIY chimney renovations is repointing deteriorated mortar joints. This involves removing old, crumbling mortar and replacing it with fresh material. The process requires careful preparation, including scaffolding or secure ladder access, appropriate weather conditions (avoid freezing temperatures or excessive heat), and the right mortar mix.
Start by carefully removing loose or damaged mortar to a depth of approximately 15-20mm using appropriate tools such as a plugging chisel and hammer, or a mortar rake. Clean out all debris and dampen the joints with water before applying new mortar. Use a mortar mix appropriate for your brick type – typically a 1:2:9 mix (cement:lime:sand) for most applications, though older buildings may require a lime-based mortar to maintain breathability.
Apply the mortar in thin layers, building up to the final profile gradually. Tool the joints to match the existing profile once the mortar has begun to set but before it becomes too hard. Protect the work from rapid drying and frost for several days after completion.
Chimney Cap and Cowl Maintenance
Replacing or upgrading chimney caps and cowls is another task well within the capabilities of most DIY enthusiasts. These components play a crucial role in preventing rain ingress whilst maintaining proper ventilation.
When selecting a new cap or cowl, consider both functional and aesthetic requirements. The design should complement your property’s architectural style whilst providing effective weather protection and, if necessary, bird guards. Ensure adequate fixing to withstand wind loading, and check that the design doesn’t restrict airflow more than necessary.
Flue Liner Installation
Perhaps one of the most impactful DIY chimney renovations is the installation of a modern flue liner. This is particularly relevant for properties with older chimney systems that may lack adequate lining or where the original lining has deteriorated.
Modern flexible flue liners offer an excellent solution for upgrading chimney performance whilst maintaining the external appearance of your property. These systems can significantly improve draft characteristics, reduce condensation issues, and ensure compliance with current building regulations.

The installation process, whilst requiring careful attention to detail, is achievable for competent DIYers. It typically involves lowering the flexible liner down the chimney from the top, connecting it to the appliance at the bottom, and sealing the system at both ends. Proper insulation around the liner may be required depending on the application and existing chimney construction.
Key considerations include selecting the correct diameter for your appliance, ensuring the liner material is appropriate for the fuel type (gas, oil, or solid fuel), and maintaining proper support and sealing throughout the installation.
Essential Tools and Materials
Successful DIY chimney renovation requires proper equipment and materials. Safety equipment is paramount – this includes scaffolding or a secure ladder system, safety harnesses, hard hats, and appropriate clothing. Never attempt to work on a chimney without proper access equipment and safety measures.
Basic tools needed include various chisels for mortar removal, hammers, trowels, pointing tools, wire brushes, and buckets for debris removal. For liner installation, you’ll need rope for lowering components, appropriate sealing materials, and possibly insulation material depending on the specific requirements.
Materials should be selected carefully to match existing construction and intended use. This includes appropriate mortar mixes, replacement bricks if needed, weatherproof sealants, and quality flue components from reputable suppliers.
Step-by-Step Renovation Process
Proper planning is essential for any chimney renovation project. Begin with a thorough inspection to identify all issues requiring attention. This should include both external examination of the visible chimney structure and internal assessment of the flue condition where possible.
Prepare the work area carefully, ensuring safe access and protection of surrounding areas from debris and dust. Check weather forecasts and plan work during suitable conditions – avoid periods of expected rain or extreme temperatures.
Execute the work systematically, starting from the top of the chimney and working downwards where possible. This prevents debris from contaminating completed work and ensures proper sequencing of tasks.
For repointing work, remove all loose material first before beginning application of new mortar. Work in manageable sections and maintain consistent technique throughout. For liner installation, ensure all connections are secure and properly sealed before final commissioning.
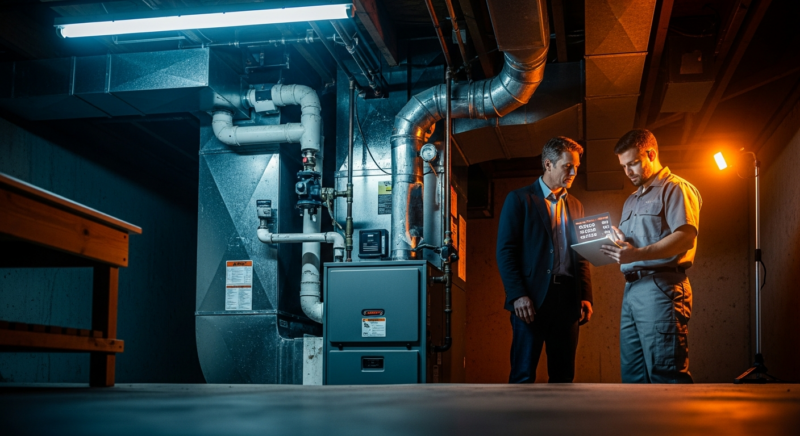
When to Call the Professionals
While many aspects of chimney renovation can be tackled by experienced DIYers, certain situations require professional intervention. Major structural repairs, particularly those affecting the chimney’s stability, should always be handled by qualified contractors.
Gas appliance connections must be completed by Gas Safe registered engineers, and electrical work requires appropriate certification. If you’re unsure about any aspect of the work, or if problems are more extensive than initially apparent, don’t hesitate to seek professional advice.
Building regulations compliance is another area where professional input may be valuable. Whilst many renovation works fall under permitted development rights, significant alterations or new installations may require building control approval.
Maintaining Your Renovated Chimney
Once renovation is complete, establishing a proper maintenance regime will protect your investment and ensure continued safe operation. This includes annual inspections, particularly before the heating season, regular cleaning of both the flue and appliance, and prompt attention to any emerging issues.
Keep records of all work carried out, including materials used and dates of completion. This information will be valuable for future maintenance and may be required for insurance purposes.
Conclusion
Chimney renovation, when approached thoughtfully and executed properly, can significantly enhance both the safety and performance of your heating system whilst preserving the architectural integrity of your property. Many aspects of this work are well within the capabilities of experienced DIY enthusiasts, particularly with access to quality materials and proper guidance.
The key to success lies in realistic assessment of your capabilities, proper preparation, and attention to detail throughout the process. By understanding when professional help is needed and when you can confidently proceed independently, you can achieve excellent results whilst managing costs effectively.
Whether you’re maintaining a period property or upgrading a more modern home, the principles remain the same: safety first, quality materials, proper technique, and regular maintenance. With these foundations in place, your renovated chimney system will provide years of reliable, safe service whilst contributing to the overall appeal and value of your property.