A wood-fired pizza oven adds a touch of authenticity and flavour to your homemade pizzas. The process of cooking with a wood-fired pizza oven may seem daunting at first, but with the right tips and techniques, you can achieve mouthwatering results. In this article, we will guide you through the essential steps on how to use a wood-fired pizza oven, covering everything from lighting the fire to achieving that perfect crispy crust. Read the article to learn how to cook pizza in an outdoor oven.
1. Preparation is key:
Before diving into the cooking process, meticulous preparation is essential to ensure your wood-burning ovens operates at its best. Here’s a more detailed breakdown of the necessary steps:
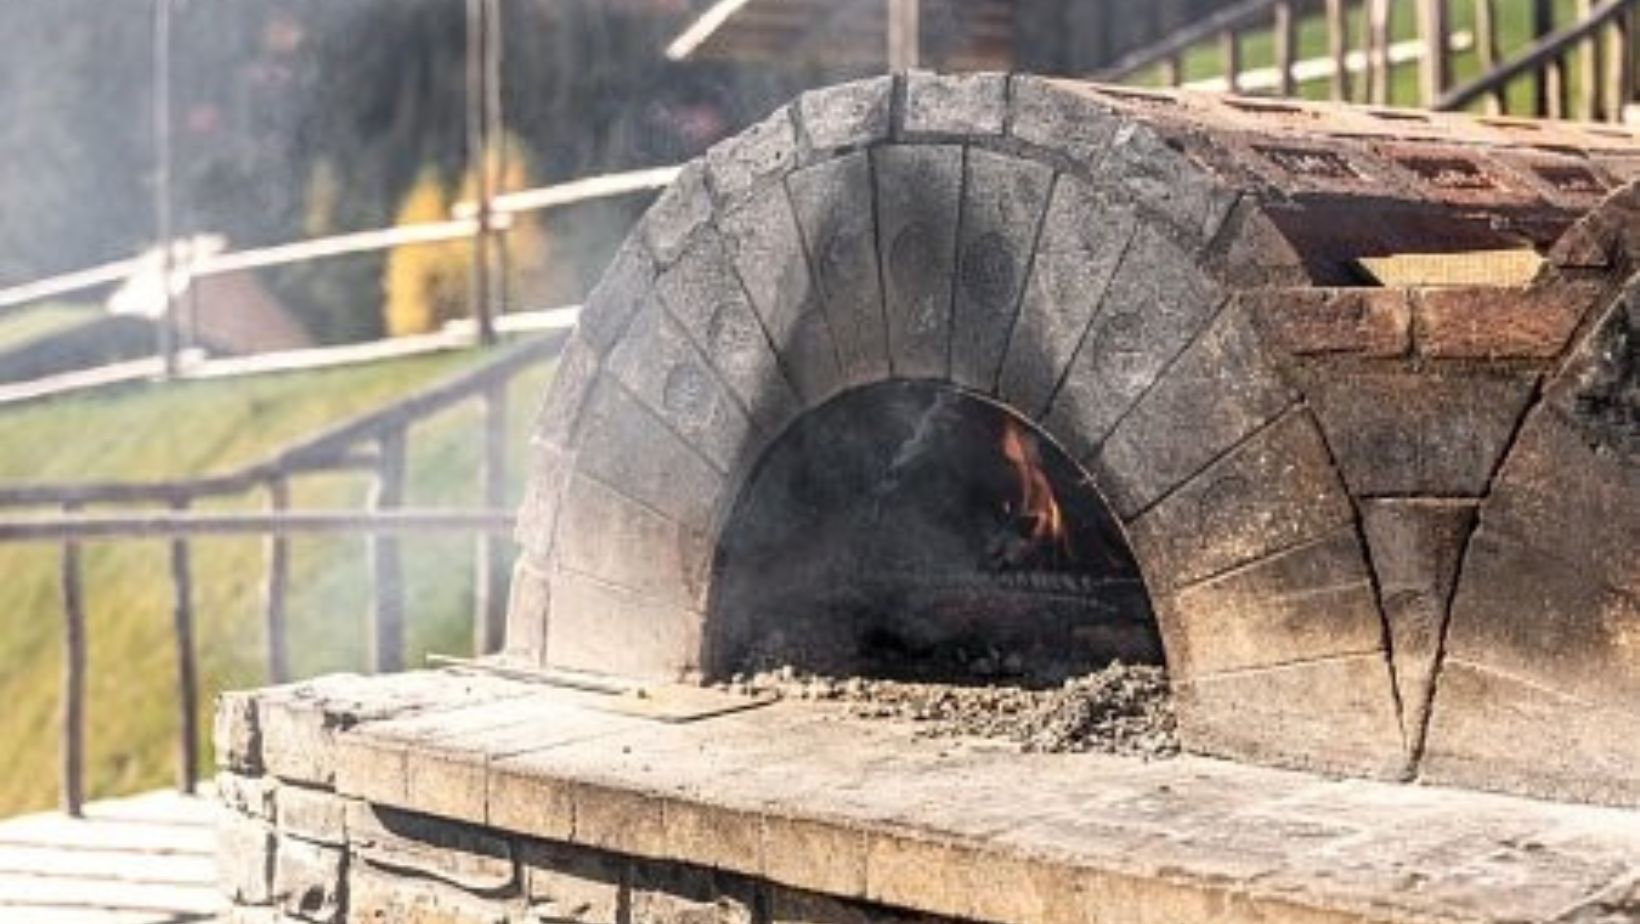
- Cleaning an outdoor wood-fire pizza oven: Begin by removing any remnants of ashes or debris from previous use. Use a long-handled brush or a small shovel to sweep out the interior of the oven. Clearing out these remnants not only ensures a clean cooking surface but also prevents any unwanted flavours from affecting your pizza.
- Inspecting the Chimney Smoke Control Vent: Check that the chimney smoke control vent is open and unobstructed. This is crucial for regulating the airflow in the oven, allowing smoke to escape and preventing excessive build-up. Proper ventilation ensures a consistent and controlled cooking environment.
- Scrutinizing the Oven Floor: Examine the floor for any leftover food particles or residue. A clean cooking floor promotes even heat distribution (like a baking stone/pizza stone) and prevents any lingering flavours from transferring to your pizza. Use a metal scraper or brush to remove any stubborn residues.
- Assessing the Oven Door: Ensure that the oven door is in good condition and closes securely. A well-sealed door retains heat efficiently and contributes to the overall temperature control of the oven. If there are any gaps or issues, address them before starting the fire.
2. Lighting the fire in a wood fired oven
Now that your wood-fired pizza oven is immaculately prepared, it’s time to kindle the fire that will infuse your pizzas with that unmistakable wood-fired flavour. Follow these detailed steps for a successful fire-lighting process:
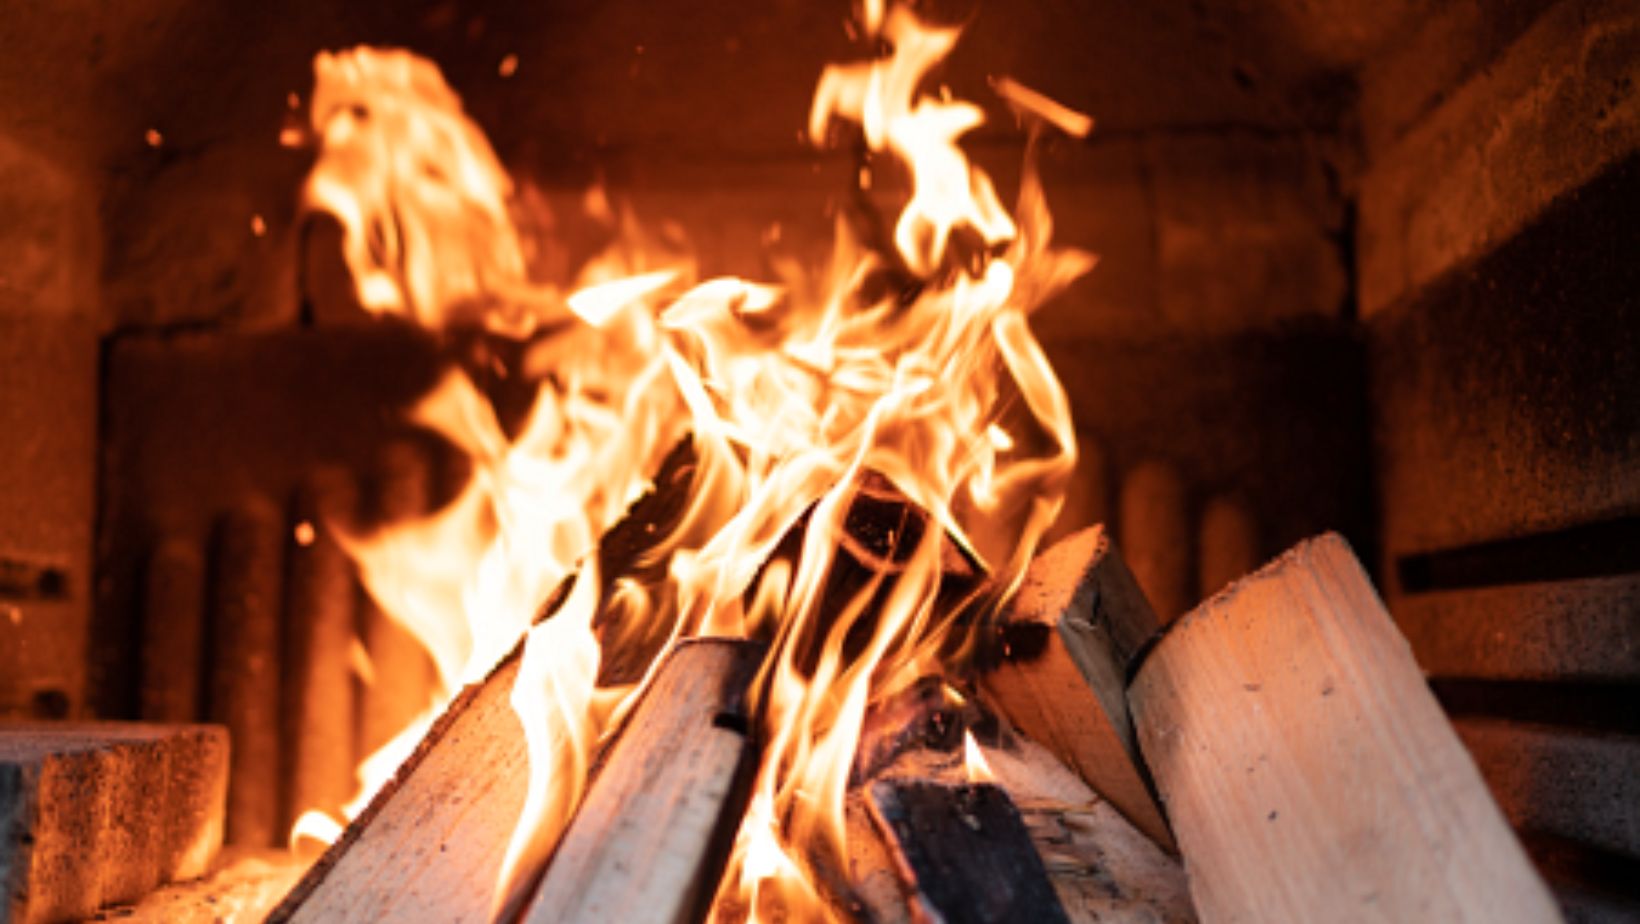
- Selecting the Right Wood: Choose dry wood logs for your fire, as they ignite more easily and produce a cleaner burn. The wood you select plays a crucial role in determining the flavours imparted to your pizza. Steer clear of treated wood or wood with additives, as these can introduce unwanted tastes. Opt for hardwoods such as oak, beech or fruit wood, known for their ability to provide a clean and aromatic burn. Avoid burning wood that contains a lot of resin, like pine, spruce or other conifers, as they produce a lot of soot and will affect you pizzas’ taste.
- Preparing the Fire Area: Clear the fire area of any debris or combustible materials. Create a designated space within the oven for the fire, ensuring proper airflow for combustion. Arrange the wood logs in a way that allows the flames to build up gradually, promoting an even and sustained burn.
- Using a Chimney Starter: For efficient and controlled ignition, consider using a chimney starter. Load the starter with small pieces of dry wood or crumpled newspaper, place it in the centre of the fire area, and light it up. Once the wood in the chimney starter catches fire, carefully transfer it to the oven, allowing the flames to spread to the larger logs.
- Employing Natural Firelighters: Alternatively, natural firelighters can be used to kickstart the fire. These can include twigs, dry leaves, or commercial firelighters made from natural materials. Arrange the firelighters in the centre of the oven, place smaller pieces of wood around them, and ignite. As the flames grow, gradually add larger logs to build a robust fire.
- Ensuring Proper Ventilation: Throughout the fire-lighting process, maintain good ventilation in the oven. Proper airflow helps the fire burn efficiently and prevents the accumulation of excessive smoke. An open chimney smoke control vent aids in controlling the draft, allowing you to regulate the intensity of the fire.
- Monitoring the Fire’s Progress: Keep a watchful eye on the fire’s development. As the flames grow, add additional wood logs to sustain the fire. The goal is to establish a steady and robust fire that will bring the oven to the desired cooking temperature.
- Allowing the Fire to Settle: Once the fire is well-established and the wood logs have burned down to embers, allow the fire to settle. This stage is crucial for achieving a consistent and even cooking temperature. The embers will radiate heat across the oven floor, creating the ideal environment for cooking your pizzas.
3. Reaching the desired temperature:
Allow the wood-fired pizza oven to preheat until it reaches the desired temperature for cooking. Use an infrared thermometer to measure the oven floor temperature accurately. For that crispy crust, aim for an oven temperature between 700°F to 800°F (370°C to 430°C). This intense heat will cook your pizza quickly, giving it the perfect texture. After it’s done, you can use the leftover heat for wood-fired cooking other dishes.
4. Preparing the pizza dough
While the oven is heating up, prepare your pizza dough. Use a traditional recipe or your preferred method. Lightly flour the pizza peel to prevent sticking and ensure a smooth transfer to the oven’s hot surface.
5. Assembling the pizza
Once the oven has reached the desired temperature, place the dough on a lightly floured pizza peel. Add your favourite pizza sauce, toppings, and cheese. Be creative and experiment with different flavour combinations.
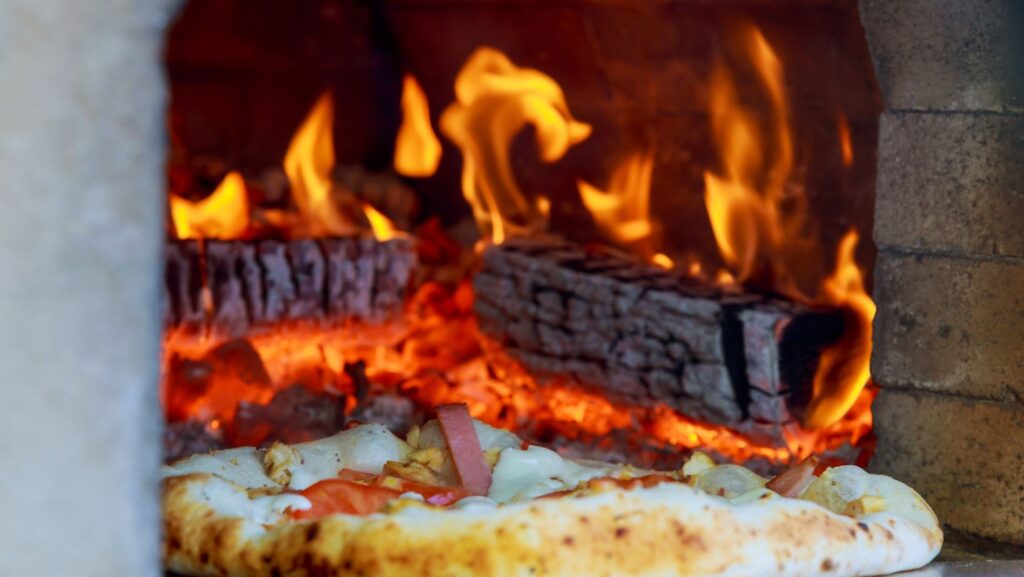
6. Cooking the pizza
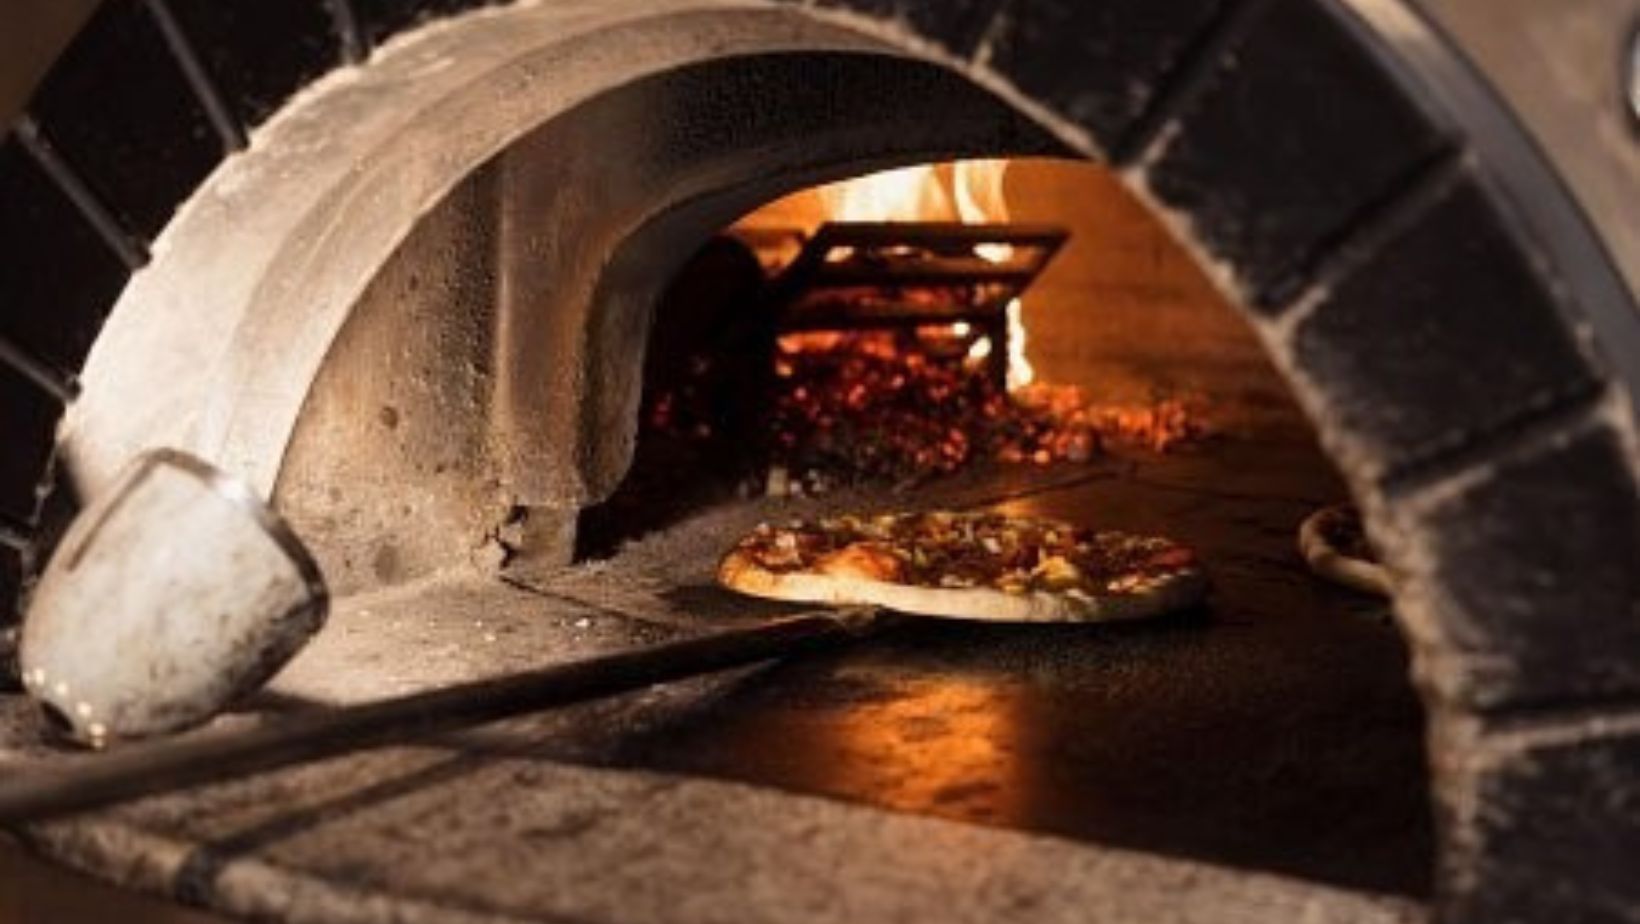
Carefully slide the pizza onto the hot oven floor using the peel. Keep an eye on the pizza to prevent it from charring. The high heat will cook the pizza in just a few minutes, creating a crispy crust and perfectly melted cheese.
7. Turning and monitoring
Use a turning peel to rotate the pizza for even cooking. Keep an eye on the pizza’s progress and use a laser thermometer to monitor the oven’s internal temperature. Adjust the fire if necessary to maintain the desired heat.
8. Adding the finishing touch
Once your pizza is nicely browned and the crust is crispy, carefully remove it from the oven using the peel. Drizzle some olive oil or add fresh herbs for an extra burst of flavour.
9. Experimenting with flavours
Don’t be afraid to experiment with different sauces, toppings, and cooking techniques. Wood-fired ovens allow for a variety of flavours and textures, so get creative while cooking pizza.
10. Cleaning and cooling the pizza oven
After you’ve finished cooking, let the wood-fired pizza oven cool down gradually. Close the oven door to retain heat and facilitate slow cooking for other dishes, such as bread or roasted vegetables. Once the oven is cool, sweep away any remaining ashes.
How to operate a wood-fired pizza oven? Conclusion
Outdoor and home pizza ovens (like a stainless-steel oven) are versatile tools, that can greatly elevate your cooking space if operated correctly. Mastering the art of using a wood-fired pizza oven involves meticulous preparation, efficient fire-lighting techniques, and a keen understanding of temperature control. The journey from cleaning and inspecting your oven to achieving that perfect crispy crust is a rewarding process. Remember, selecting the right wood, preheating to the optimal temperature, and experimenting with flavours are key elements in crafting mouthwatering, crazy delicious pizzas. With the right tips and a touch of creativity, your wood-fire pizza oven can become the centrepiece of delicious homemade pizza gatherings. So, embrace the process, savour the flavours, and enjoy the delightful experience of cooking authentic wood-fired pizzas in your outdoor pizza oven.