Taking care of your wood floors can be daunting, but with the right tools and techniques, it’s easy to achieve beautiful, glossy floors. This guide will show you how to sand wood floors the right way, from start to finish. Here are five steps to get you started!
Step 1: Strip the Floor
Before even considering sanding your floor, you’ll need to remove the old finish layer. This process is called stripping the floor. Although it can be difficult and time-consuming, it must be done if you want to properly sand and refinish your floor. To strip a floor, you’ll need to use a floor stripper that removes the previous layer of polyurethane and wax from your floor. You can find these at any major hardware store, and they come in various sizes. Once you’ve applied the floor stripper to the floor, let it work its magic for 15-20 minutes, and then begin to scrub it with an old mop or broom handle. As you scrub, you’ll notice the old finish layers coming off the floor along with the stripper. Once the old layers of finish are completely removed, rinse the floor thoroughly with clean water to remove all traces of stripper from the floor. This will ensure that the new layer of finish will adhere properly to your floor. Even if you refinish without sanding, it’s always good practice to strip the floor first to get a clean slate for the refinishing process.
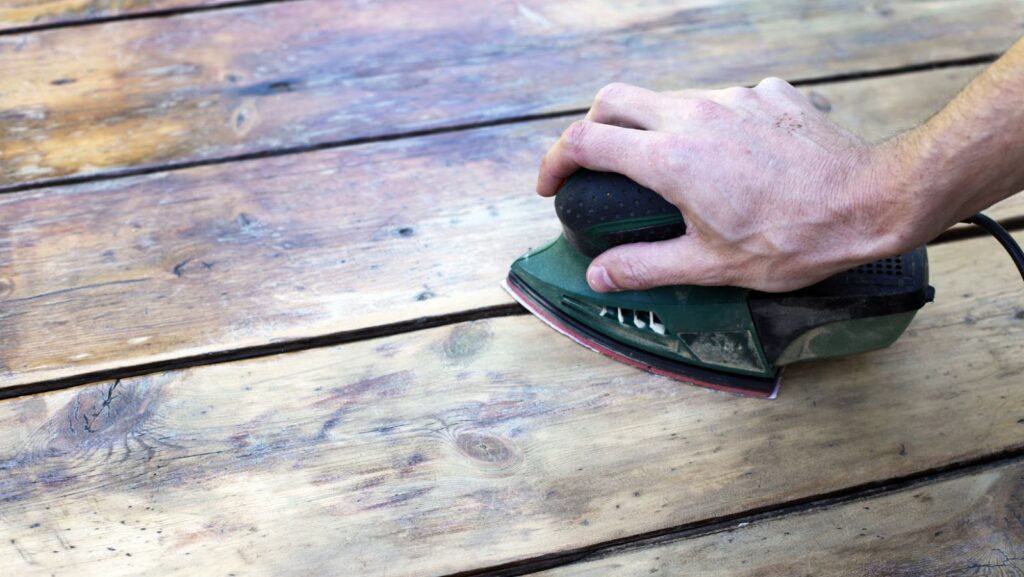
Step 2: Use a Buffer to Smooth Out the Floor
Once the floor has been stripped, it’s time to start sanding it down to create a smooth surface for the new layer of finish to adhere to. Start by gathering your tools and materials together so they’re easily accessible while you work. You’ll need a buffer for your sander and a series of sandpaper grits ranging from coarse to fine. Finally, you’ll also need a bottle of water mist to help cool off the sander and keep the dust under control. These can all be purchased at your local hardware store or home improvement store.
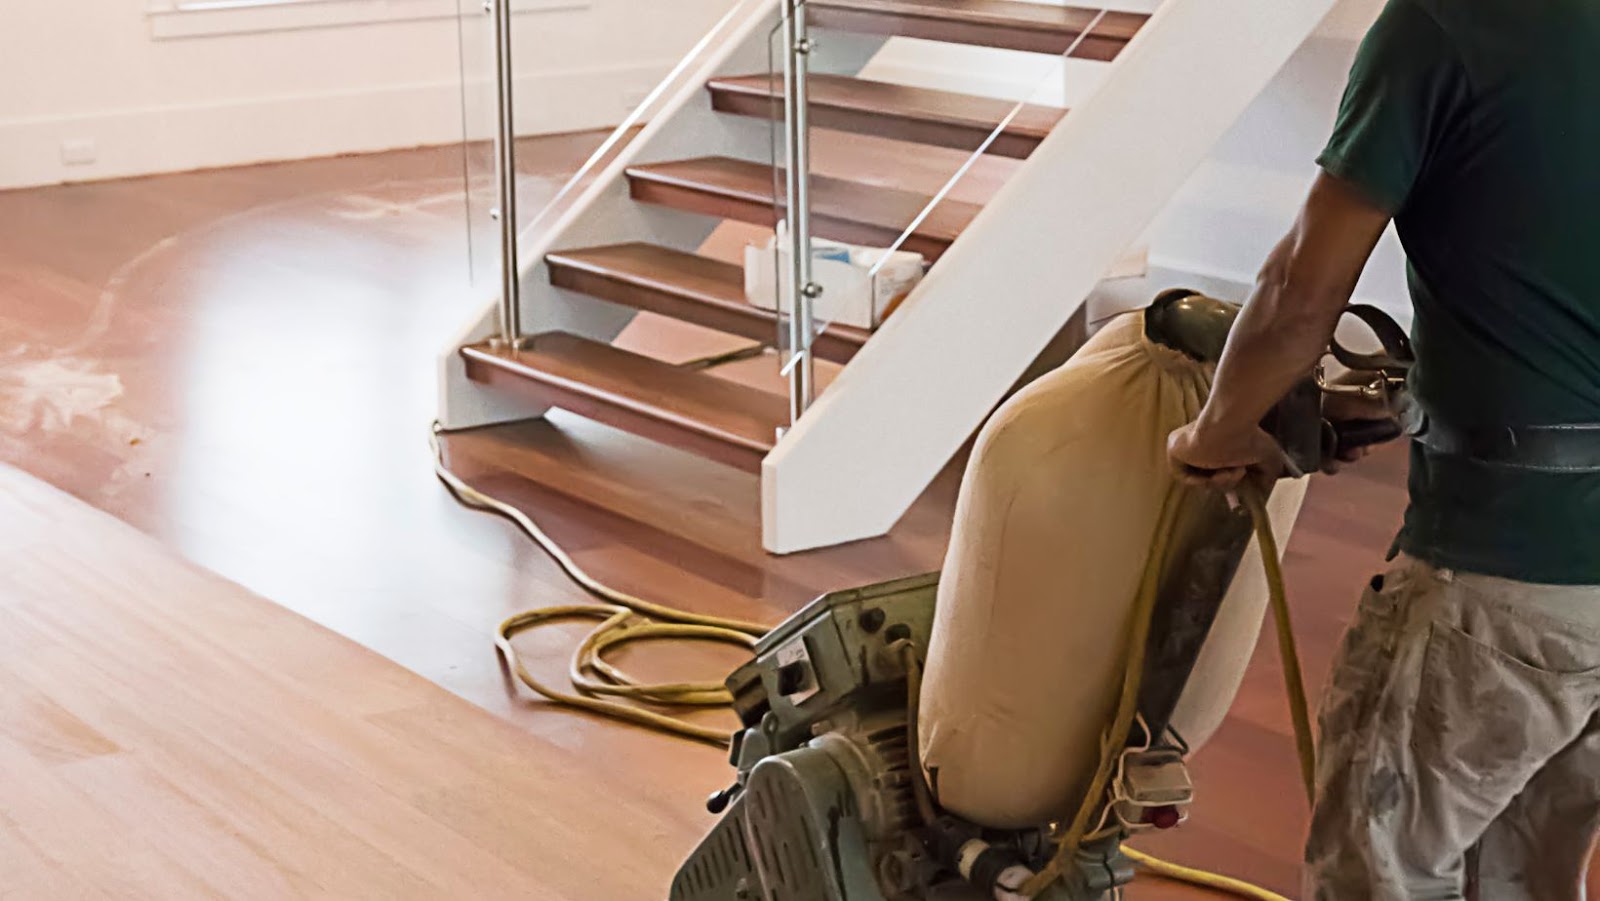
Step 3: Apply the First Sanding Coat
Now that you have everything you need to start, you can begin sanding your floor. To do this, simply plug in the sander and set the speed to 4 or 5. Then attach the sandpaper to the buffer and start sanding the floor in overlapping rows across the entire floor area. You want to sand the entire floor twice using finer grit paper the second time in order to remove any remaining scratches from the first sanding pass. After you’ve sanded the whole floor, allow the floor to dry completely before moving on to the next step. You’ll also want to apply water to dampen the sawdust during the sanding process to help keep the dust down to a minimum.
Step 4: Apply the Second Sanding Coat
Once you have let your floor dry completely, you can move on to the second sanding pass using the same technique. Again, you’ll want to use a finer grit of sandpaper this time around to remove any remaining scratches from your first sanding pass. Once you’ve finished sanding the floor, allow it to dry entirely again before going on to the next and final step of the process.
Step 5: Apply the Finish
Now that your floor has been sanded down to a smooth, even surface, it’s time to apply the new layer of finish. This is usually the final step of a floor refinishing project and will determine whether you end up with a beautiful floor or a mess of epic proportions. To ensure that you get the best results possible, taking your time when doing this stage of the process is important.
Remove all the furniture from the room before starting your work. This will make it easier for you to get the floor into proper shape and will ensure that you don’t have anything getting knocked over while you are working. Lay drop cloths on the floor and walls to keep any debris from getting onto your furniture or other belongings. Once the floor is completely empty, it’s time to add the new finish.
It is important to use the right type of finish for the job to ensure that the floor will look its best once the project is complete. Polyurethane finishes are extremely durable, long-lasting, and most commonly used for indoor applications. They are also very easy to maintain and will look great for many years with minimal care.
Conclusion
As you can see, this process is quite involved and will require a bit of patience on your part. However, if you follow the process carefully and do each step properly, you shouldn’t have any problems finishing your project in a reasonable time. You should be left with a beautiful, smooth new floor that will look great for years to come.