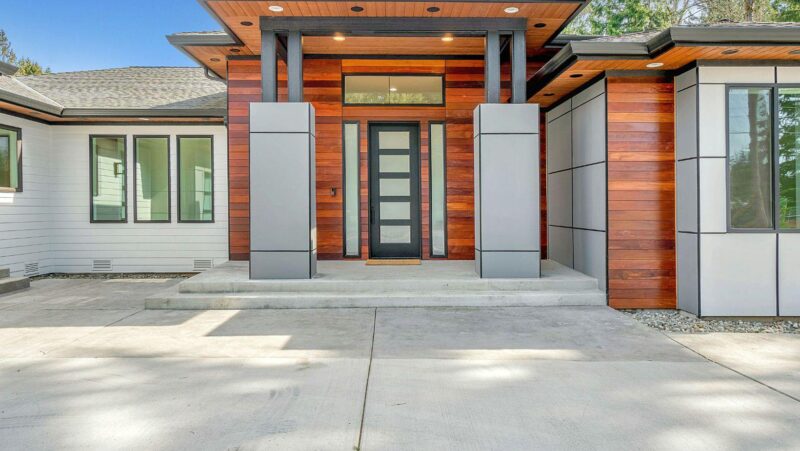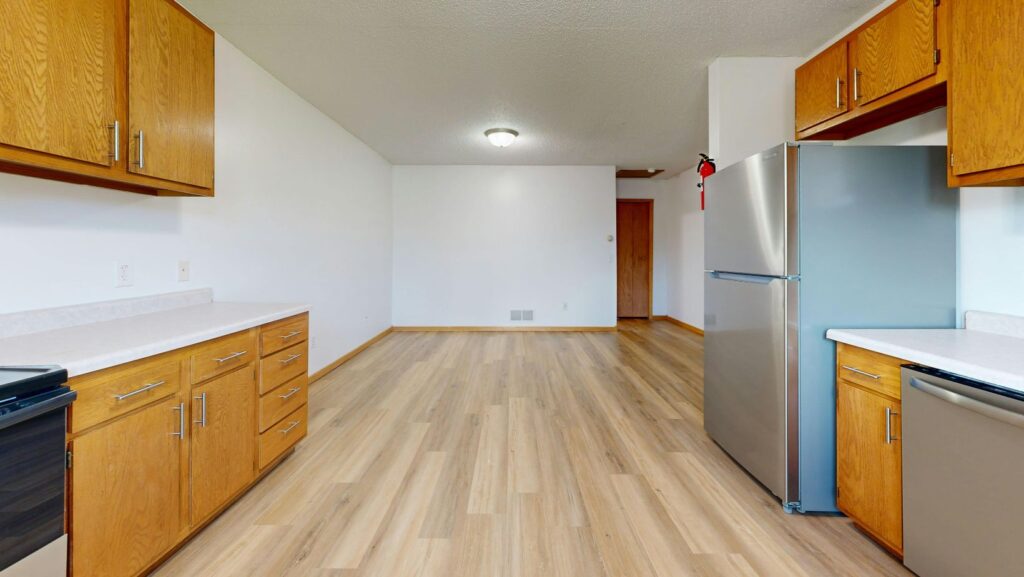
Hardwood floor installation is one of the most reliable ways to upgrade your home and give it a clean, long-lasting finish. You may picture the process as laying one board after another, but there’s more to it than that. Smart planning, the right tools, and a few key decisions determine how well your new floor performs.
With the right approach, you can avoid surprises, save time, and get a result that feels solid under every step. This guide walks you through each stage in a simple, practical way so you know what to expect, whether you’re planning a DIY project or hiring a professional.
Understanding Hardwood Floor Installation Before You Begin
Hardwood floor installation involves a series of steps that work together to create a stable, durable surface. When one stage is skipped or rushed, you see problems later. Knowing what happens behind the scenes helps you make smarter decisions from the start.
What Material Should You Choose?
You’ll choose between two main types of hardwood:
- Solid hardwood: One solid piece of wood. Great durability. Can be refinished multiple times.
- Engineered hardwood: Layers of wood pressed together for stability. Ideal in areas with changing humidity.
Your home’s layout, sunlight, and moisture level all shape which type works best. For example, basements or condos often call for engineered flooring because of improved moisture control.
What Style Fits Your Home?
Think about:
- Plank width: Wide planks feel modern. Narrow planks suit older homes.
- Wood species: Oak is classic. Maple is light and clean. Hickory is strong and textured.
- Finish: Matte hides wear better. Gloss brings a polished look.
Matching the floor to your lifestyle is more important than following trends. Do you have pets? Kids? Heavy foot traffic? These factors should guide your choice.
Smart Preparation Before Hardwood Installation
Preparation is the step many homeowners overlook, yet it shapes the quality of the entire project. Ask yourself: Have you created the best possible base for your new floor?
Let the Wood Adjust
Hardwood needs time to settle into your home’s temperature and humidity. Leaving the boxes inside for a few days lowers the risk of shrinking or swelling once installed.
Evaluate the Subfloor
Your subfloor must be:
- Flat
- Solid
- Dry
- Clean
Walk across the room. Do you feel any dips or soft spots? Fixing these issues before installation prevents squeaks and shifting boards later.
Clear and Clean the Area
Removing old flooring, staples, and adhesive gives the new planks a smooth surface. A clean workspace also makes installation faster and safer.
Plan Your Layout in Advance
Plank direction matters. Most installers run boards parallel to the longest wall or toward natural light. This creates a balanced look and makes the room feel larger. Layout planning also helps you avoid thin slivers of wood along the edges.
For a closer look at how professionals prepare, study guides like this one from hardwood floor installation. It shows how small details influence the final result.
The Smarter Way to Complete Hardwood Floor Installation
Once the space is ready, installation becomes more predictable. Here’s what a typical process looks like from start to finish.
1. Add the Underlayment
Underlayment provides sound reduction and moisture protection. It also helps smooth out small imperfections in the subfloor.
2. Create a Straight Starting Line
Installers use a chalk line to mark a straight reference point. A precise first row keeps the rest of the floor aligned.
3. Install the First Row of Planks
Your first row needs a tight fit. Leave a small gap at the wall to allow for natural expansion. This prevents the boards from pressing against the wall during seasonal changes.
4. Lay the Remaining Boards
Your installation method determines how the boards are set:
- Nail-down: Fastens solid hardwood to a wooden subfloor.
- Glue-down: Secures planks with adhesive.
- Floating: Boards click together without nails or glue.
Stagger joints for strength and balance. This avoids patterns that look repetitive and keeps the structure stable.
5. Finish the Room with Trim
After all the planks are installed, add:
- Baseboards
- Quarter round
- Thresholds
- Transition pieces
These finishing details cover expansion gaps and give your new floor a clean, complete look.
Mistakes That Can Affect Your Hardwood Floor Installation
Even small oversights during hardwood installation create problems that appear months later. These issues aren’t always obvious at first, which is why it helps to understand the risks before starting.
Common mistakes include:
- Not acclimating the wood: Boards that don’t adjust to your home’s temperature and moisture can swell, shrink, or gap after installation.
- Installing on a damp or uneven subfloor: Moisture leads to warping, while uneven spots cause movement or squeaks. A flat, dry base is essential.
- Skipping layout planning: Without a layout plan, you may end up with awkward cuts, uneven lines, or seams that draw attention.
- Forgetting expansion gaps: Hardwood moves with the seasons. Tight installation with no spacing can cause boards to buckle.
- Using the wrong adhesive: Not all glues work for every material. The wrong product leads to weak bonding or loose planks.
- Ignoring humidity shifts: Rooms that swing between dry and humid conditions need careful monitoring to prevent cupping or crowning.
Taking a moment to double-check each step reduces the chances of costly repairs later.
Understanding the Costs Involved
Your total cost depends on several factors:
- Room size
- Product quality
- Removal of old flooring
- Repairs to the subfloor
- Installation method
- Stairs or unusual room shapes
Budgeting for prep work is as important as budgeting for the hardwood itself. A strong foundation makes your floor last longer.
DIY or Hire a Professional? Making the Smart Choice
Not every project needs a contractor, but not every layout is DIY-friendly either. The easier the room, the better your chances of success on your own.
DIY Works Well When:
- The room is simple
- You’re using a floating floor
- The subfloor is already smooth and level
- You have time to learn the steps carefully
Hiring a Pro Makes Sense When:
- You’re installing solid hardwood
- You have stairs, hallways, or angled walls
- Your subfloor needs repairs
- You want a smooth, uniform finish
- You want the project done quickly
Even if you hire a professional, understanding the process helps you ask better questions and make informed decisions.

Caring for Your Floor After Installation
Good maintenance keeps your hardwood floor looking clean and smooth year after year. Simple routines protect the surface from scratches, moisture, and everyday wear, and they don’t take much time to build into your day.
Start by sweeping often to remove dirt and grit, since these can act like sandpaper on the finish. Place mats near entry doors to catch moisture and debris before they reach the wood. When spills happen, wipe them up right away to prevent staining or water absorption.
Keeping your indoor humidity steady also helps the boards stay stable through seasonal changes. Adding felt pads to the bottom of your furniture keeps chairs and tables from scraping the surface. Over time, consider refreshing the finish with a light recoat to bring back its sheen and reinforce the protective layer.
These small habits make a noticeable difference in how well your floor ages and how long it maintains its natural beauty.
A Smarter Approach Makes Hardwood Floor Installation Last Longer
Knowing the steps involved in hardwood floor installation gives you a strong advantage. When you plan ahead, prepare properly, and make thoughtful choices, your floor will look better and stay durable for years. Whether you’re doing the work yourself or working with a professional, the right approach always leads to a better result.